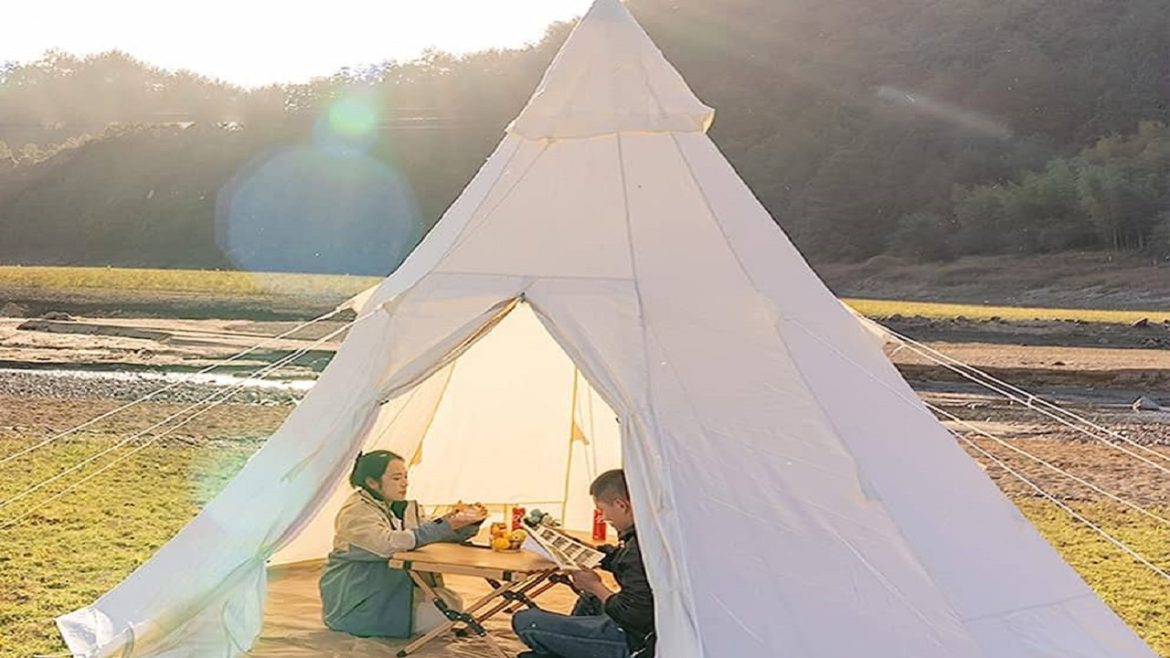
Setting up a pyramid tent is an essential skill for any outdoor enthusiast. With its iconic shape and durability, a pyramid tent provides a comfortable and reliable shelter during your camping adventures. Whether you’re a seasoned camper or a beginner, knowing the proper steps to set up your pyramid tent is important to ensure a successful camping experience. In this guide, we will walk you through a step-by-step process to help you easily set up your pyramid tent.
Step 1: Choose the Right Location
Before setting up your pyramid tent, carefully choose the location where you will pitch it. Look for flat, level ground free from rocks, sticks, and other sharp objects that could damage your tent. Also, consider the proximity to water sources and the wind direction for optimal comfort and safety.
Step 2: Unpack and Lay Out the Components
Start by unpacking your pyramid tent and laying out all the components. This includes the tent body, stakes, poles, rainfly (if applicable), and guy lines. Familiarize yourself with each component and ensure everything is in good condition before proceeding.
Step 3: Lay Out the Tent Body
Take the tent body and unfold it, laying it flat on the ground in the chosen location. Make sure the door is facing the desired direction, keeping in mind factors such as wind direction and views.
Step 4: Assemble the Poles
Next, assemble the poles according to the manufacturer’s instructions. Most pyramid tents have a central pole that supports the apex of the tent. Insert the pole into the designated sleeve or attachment points on the tent body and secure it in place.
Step 5: Stake Down the Corners
Now, it’s time to stake down the corners of your pyramid tent. Starting from one corner, insert a stake into the ground at a 45-degree angle, leaving a small loop or tail of the stake’s cord or strap above the ground. Repeat this process for all the corners, ensuring that the tent body is taut and properly aligned.
Step 6: Adjust and Tension the Tent
Once the corners are staked, adjust and tension the tent as needed. This may involve pulling the fabric tight, adjusting the height of the pole, or using guy lines to stabilize and secure the tent. Tensioning the tent properly ensures stability and prevents flapping in windy conditions.
Step 7: Attach the Rainfly
If your pyramid tent comes with a rainfly, attach it to the tent body following the manufacturer’s instructions. The rainfly provides an extra layer of protection against rain, wind, and UV rays. Ensure that the rainfly is properly aligned and securely attached to the tent.
Step 8: Secure with Guy Lines
Secure your pyramid tent with guy lines to provide additional stability and wind resistance. Attach the guy lines to the appropriate attachment points on the tent body and stake them down at an angle away from the tent. Tension the guy lines to create a taut structure.
Congratulations! You have successfully set up your pyramid tent. Take a moment to admire your handiwork and make any necessary adjustments to ensure the tent is properly tensioned and secure. Now you can relax and enjoy the great outdoors, knowing that you have a comfortable and reliable shelter to retreat to.
Conclusion
Setting up a pyramid tent doesn’t have to be a daunting task. By following these step-by-step tips, you can set up your tent quickly and efficiently, allowing you to spend more time enjoying nature and creating lasting memories. So, grab your pyramid tent and confidently embark on your next outdoor adventure!
